How to Make Gabion Baskets: A Step-by-Step Guide
Gabion baskets, with their rustic charm and versatility, have gained popularity in landscaping and construction projects. These wire mesh containers filled with stones or rocks can be used for various purposes, from retaining walls to decorative features. If you’re looking to enhance your outdoor space or embark on a DIY project, this guide will take you through the steps on how to make gabion baskets.
What You’ll Need
Before you start building your gabion baskets, gather the necessary materials and tools:
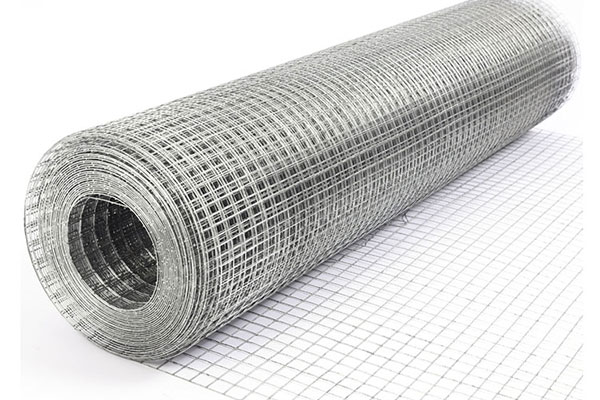
- Welded wire mesh or gabion baskets kit
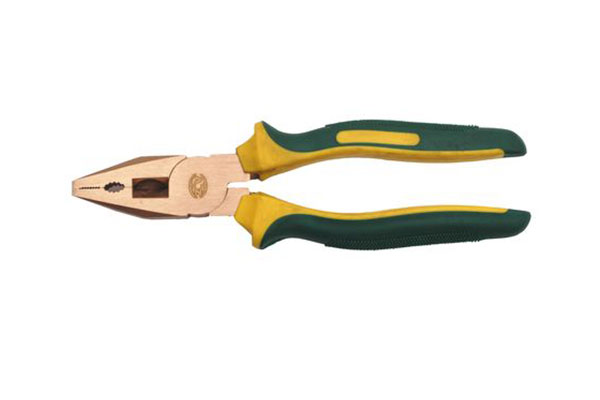
- Wire cutters
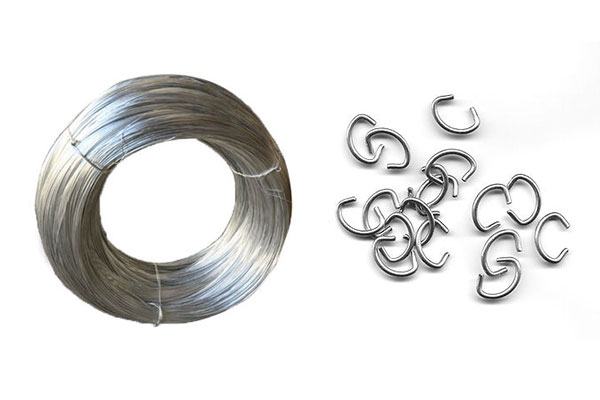
- Galvanized wire or hog rings
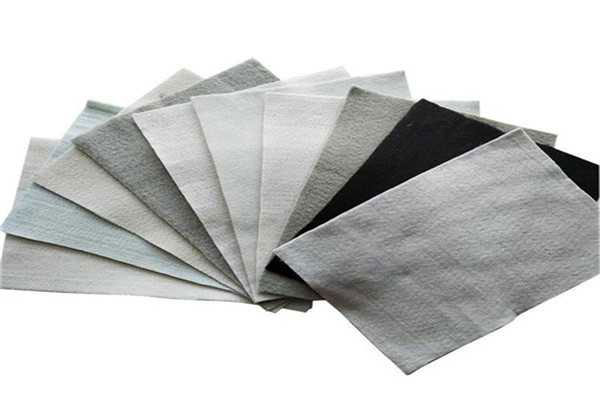
- Geotextile fabric
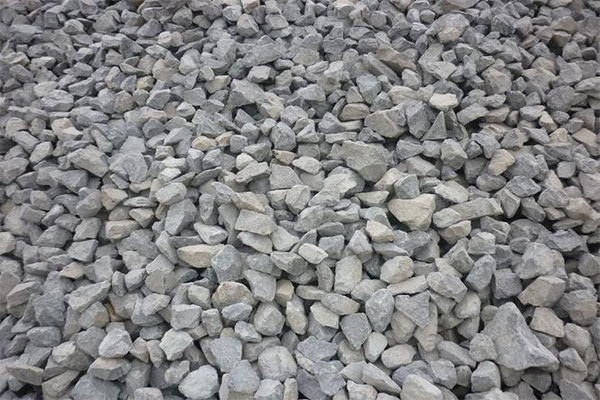
- Rocks or stones
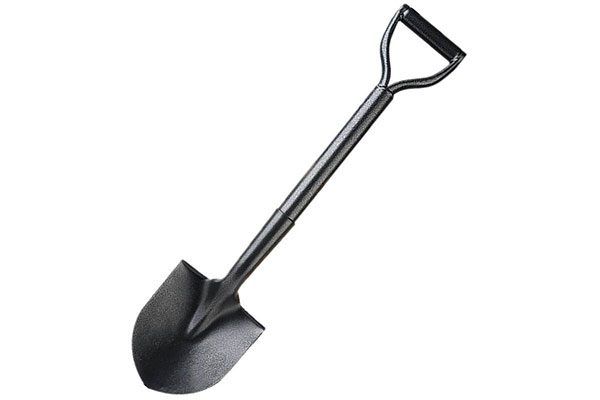
- Shovel
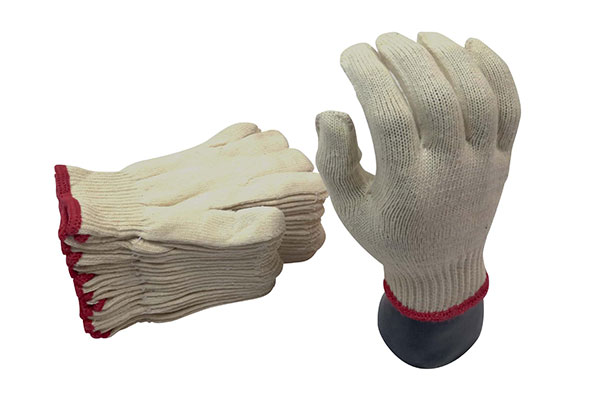
- Gloves
- Safety glasses

Step 1: Plan Your Gabion Basket
Begin by determining the size and shape of your gabion basket. Consider your project’s requirements and the available space. You can purchase pre-made gabion baskets or create your own using welded wire mesh.
Step 2: Assemble the Gabion Basket
If you’re making your own gabion basket, cut the welded wire mesh to the desired size using wire cutters. Ensure you have enough mesh panels to create the front, back, and sides of the basket.
Step 3: Secure the Panels
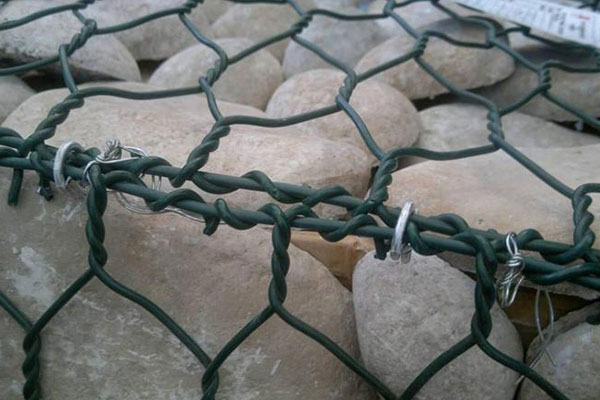
Using galvanized wire or hog rings, connect the mesh panels to form a rectangular or square basket shape. Make sure the corners are tightly secured to prevent the stones from spilling out.
Step 4: Line the Basket
To prevent soil erosion and maintain the basket’s structural integrity, line the inside with geotextile fabric. Trim the fabric to fit neatly inside the basket and secure it in place with wire or hog rings.
Step 5: Fill the Gabion Basket
Now comes the fun part – filling the gabion basket with rocks or stones of your choice. Start with larger stones at the bottom for stability and gradually add smaller ones. Use a shovel to help distribute the rocks evenly and ensure there are no gaps.
Step 6: Level and Tamp
As you fill the basket, periodically use a level to check for evenness. Tamp the rocks down with a tamper or the back of a shovel to compact them and create a stable structure.
Step 7: Close the Lid
If your gabion basket has a lid or top panel, secure it in place with galvanized wire or hog rings. Ensure it fits snugly and adds to the overall stability of the structure.
Step 8: Add Finishing Touches
Once your gabion basket is complete, you can leave it as is for a natural look or add some finishing touches. Consider planting creeping plants or succulents on top to soften the appearance or attaching decorative elements like wooden boards or metal accents.
Step 9: Place and Secure
Position your gabion basket in your desired location, whether it’s for a retaining wall, garden border, or decorative element. Make sure it’s level and secure it in place using stakes or anchors if necessary.
Conclusion
Making gabion baskets is a satisfying and creative DIY project that can transform your outdoor space. With the right materials and a bit of patience, you can create a functional and visually appealing addition to your garden or landscaping. Whether you’re building a retaining wall or a decorative feature, following these steps will help you successfully craft your own gabion baskets.